
I found the perfect chair for my new workspace: the Hinomi H2 Pro
I have written about ergonomics on this blog before, and I have written about chairs before. What I had never done until this year is start from an empty room and put the whole thing together on purpose, one piece at a time, instead of accumulating a desk setup by accident over several years.
That build is a series on my channel, and the chair is the part I spent the longest deciding on, with months of comparing spec sheets, sitting in things in showrooms, and reading reviews written by people who had clearly owned the chair for about a week.
I landed on the Hinomi H2 Pro. After living with it through the rest of the build, I still think it was the right call.
Why I replaced the old one
The chair I had been using was fine. That is genuinely the strongest thing I can say about it. It had the adjustments you would expect (height, tilt, armrests that moved in two directions) and for a couple of hours at a time it did the job.
The problem was everything past those couple of hours. On long days I would notice myself sliding forward, losing the backrest entirely and ending up perched on the front third of the seat with my shoulders rolled in. No single moment of discomfort, just a slow drift into a posture I would not have chosen deliberately.
I needed it to still work at hour six.
Assembly
Everything arrived in one box, flat-packed, with the base, the seat, the back and the headrest as separate pieces.
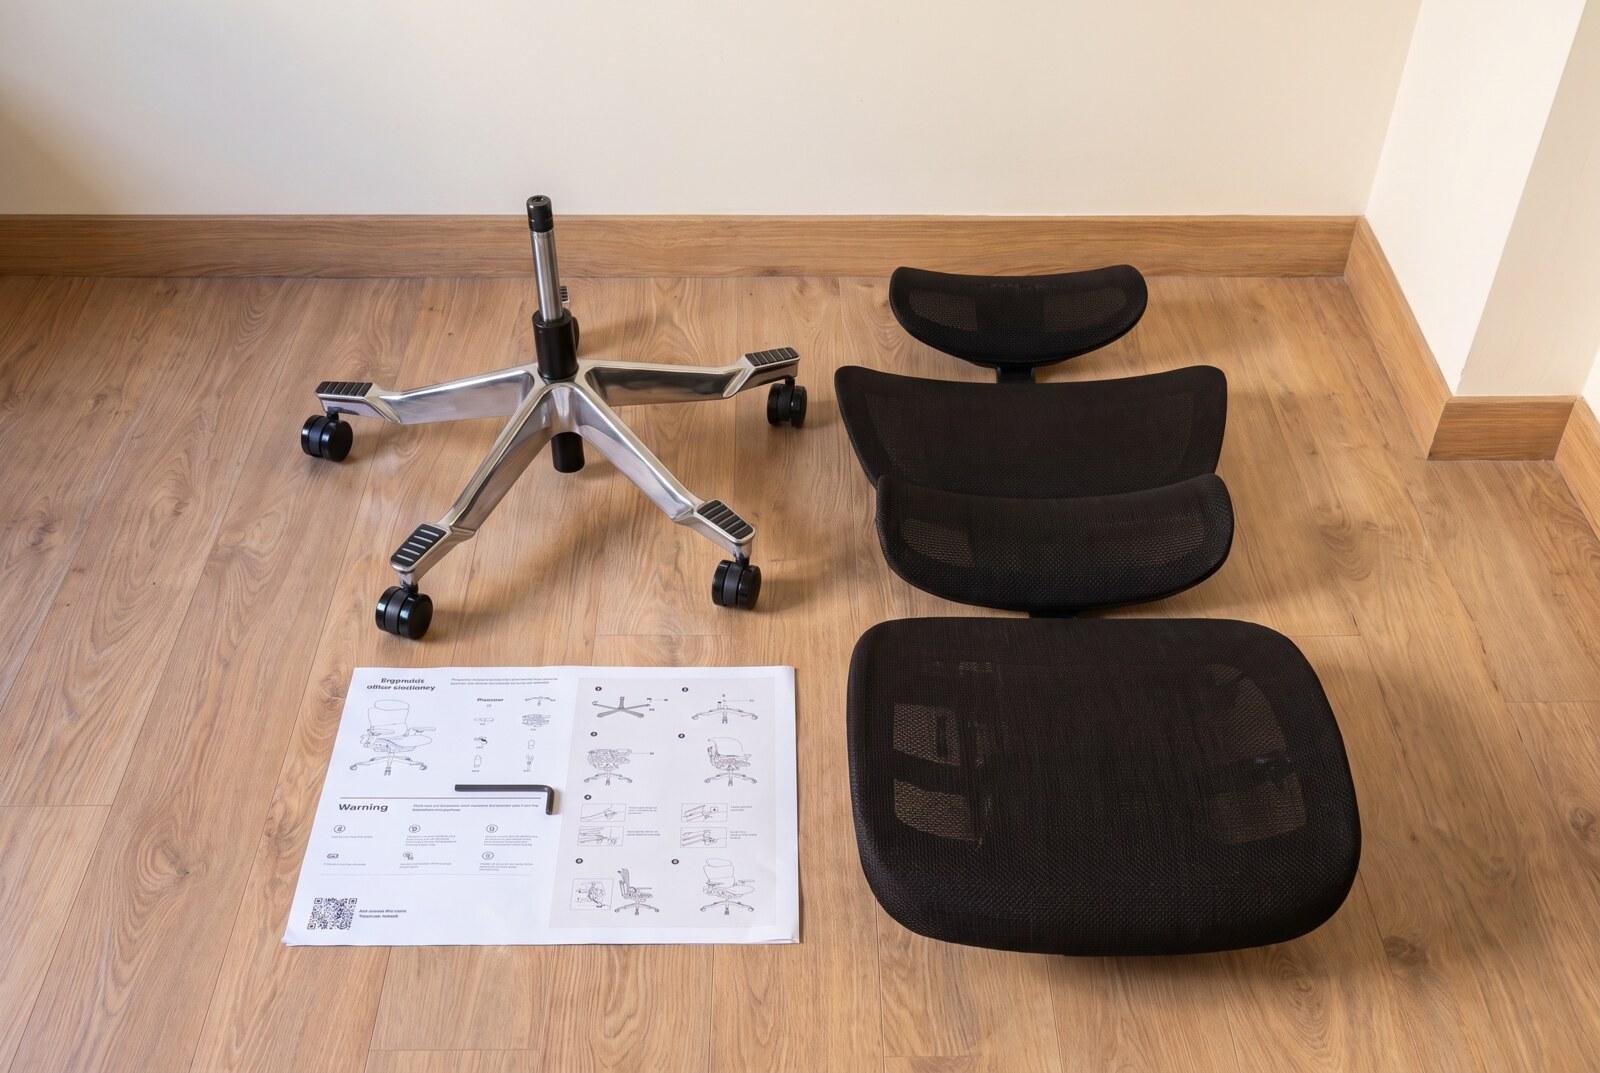
The only tool you need is the hex key that comes in the box, which I mention because I had a drill out for the desk that same afternoon and never touched it for the chair.
The assembly itself is the usual sequence: casters into the base, gas cylinder into the base, seat onto the cylinder, backrest onto the seat, headrest last. The one step worth slowing down for is attaching the backrest, because you are lining up a bolt pattern while holding the weight of the back at an angle. Everything else is genuinely a few minutes.
What I actually use day to day
Once it was together, the adjustments I ended up caring about were not the ones I expected.
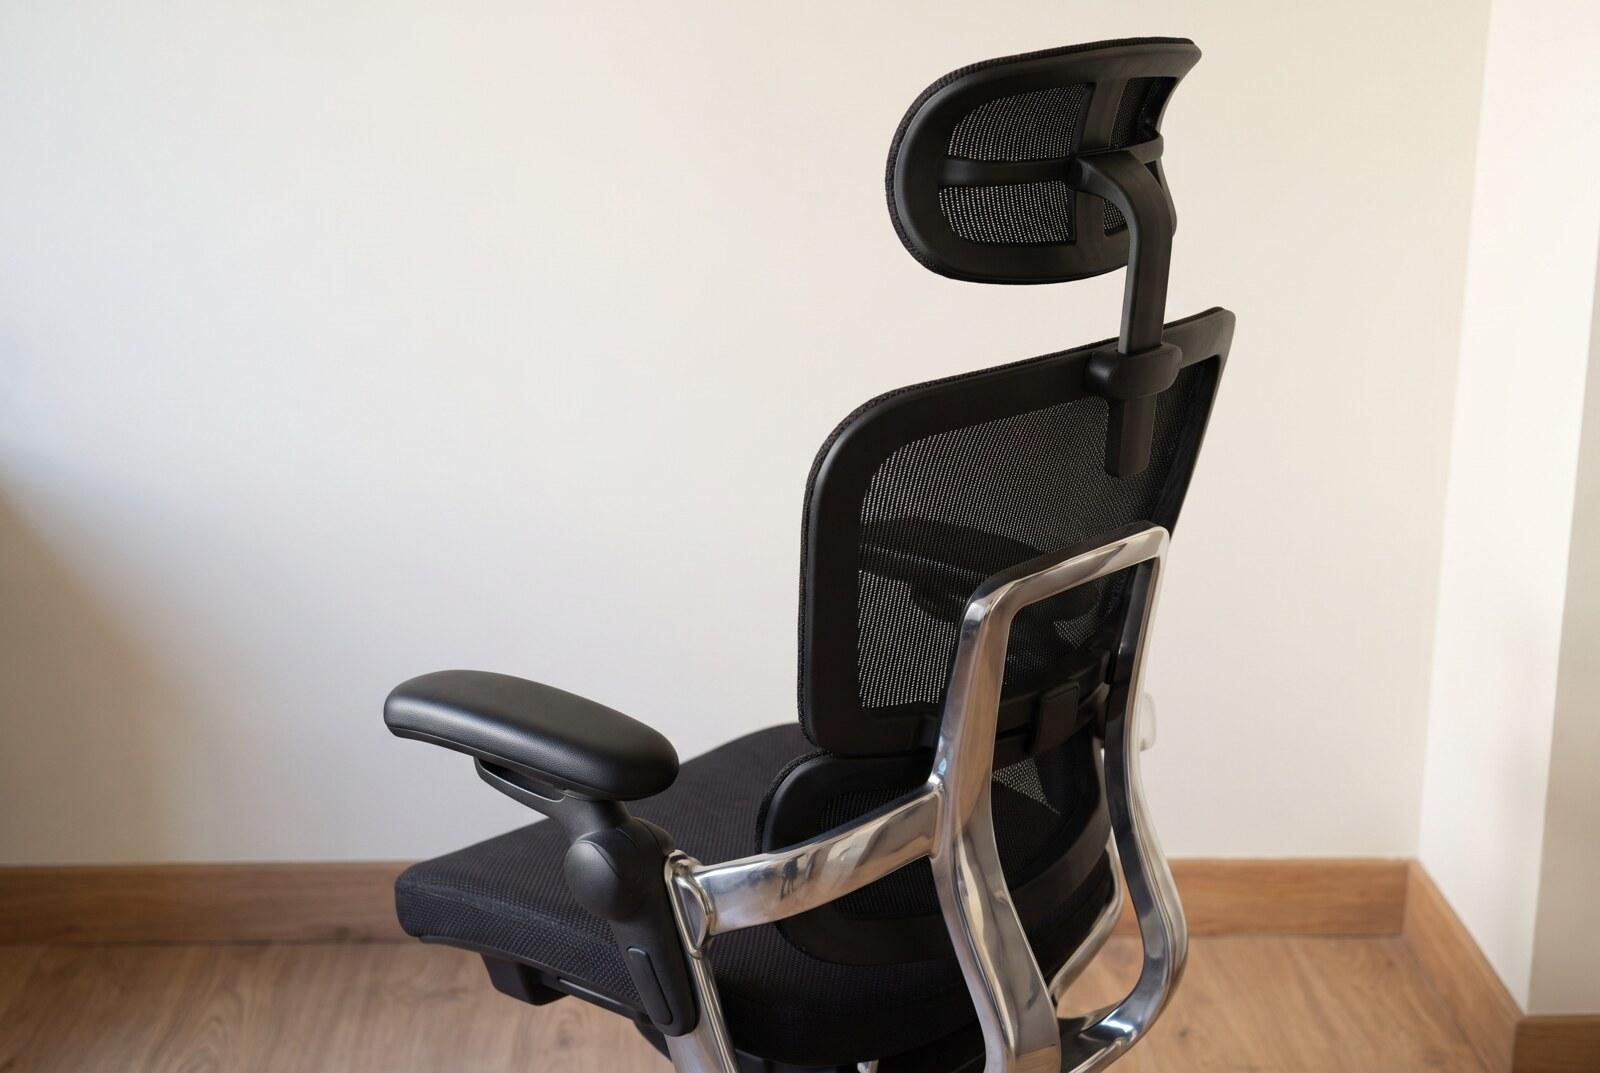
The lumbar support is the reason I bought this chair. It is adjustable in both height and depth, so you are not hoping the fixed curve of the backrest happens to match your spine. You move it until it does. That slow slide forward I described earlier stopped, because there is something physically in the way of it.
The armrests move in more directions than I initially had patience for: up, down, forward, back, angled inward. I spent a while treating that as a gimmick. It is not. Getting them to the height where my forearms are supported without my shoulders lifting is most of the difference between a neutral upper back and a tense one, and that height is not the same for typing as it is for using a mouse.
The headrest matters less than the marketing suggests while you are actively working, and more than you would think the moment you lean back to read or think. It adjusts for height and angle, and I have it set higher than looks right in photos because that is where it actually meets the back of my head.
The legrest pulls out from under the seat. I was most sceptical about this one, and it is the one I use least during focused work. On calls, or reading documentation in the evening, it is very nice to have. As a reason to choose the chair on its own, I am not sure it would be enough.
Full mesh on both the seat and the back means I stopped noticing the chair's temperature entirely, which after a Greek summer in a fabric chair is not a small thing.
In the finished room
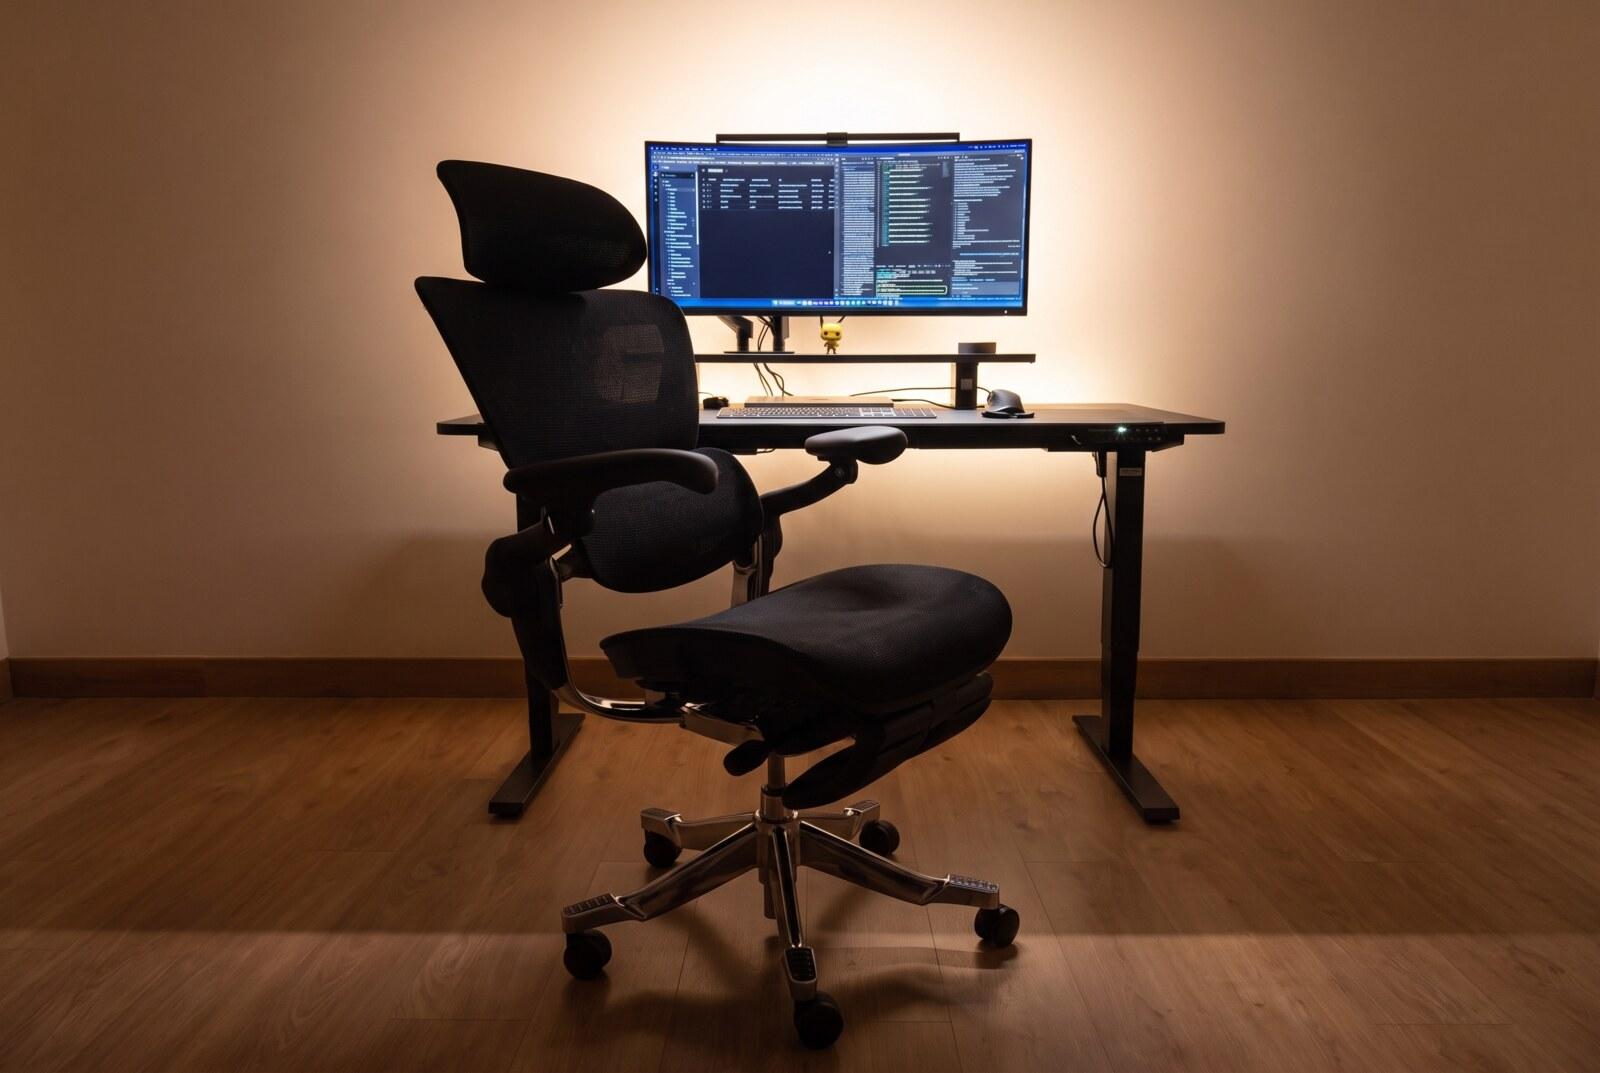
Here it is in the completed setup, which is where the build series ends up. The short below is part two of that build, if you want to see the room come together rather than read about it:
This is not a cheap chair, and a good chunk of what you are paying for is adjustability. If you buy it, set it up properly. Spend twenty minutes with the manual and move every single lever, including the ones you assume you will not need. A highly adjustable chair left at its factory settings is just an expensive average chair, and I suspect that is how most of them end up being used.
I no longer think about it during the day. I do not adjust it, I do not shift around looking for a better position, and I do not notice it at hour six. That's what I wanted.
The rest of the room is in I've put together my dream workspace. 🔧
Cheers! 🍺